
Image to Video Workflow: How to Chain an Image Model into a Video Model
Generate the still, then animate it. How to chain an image model into a video model without losing the frame, the file or the look.
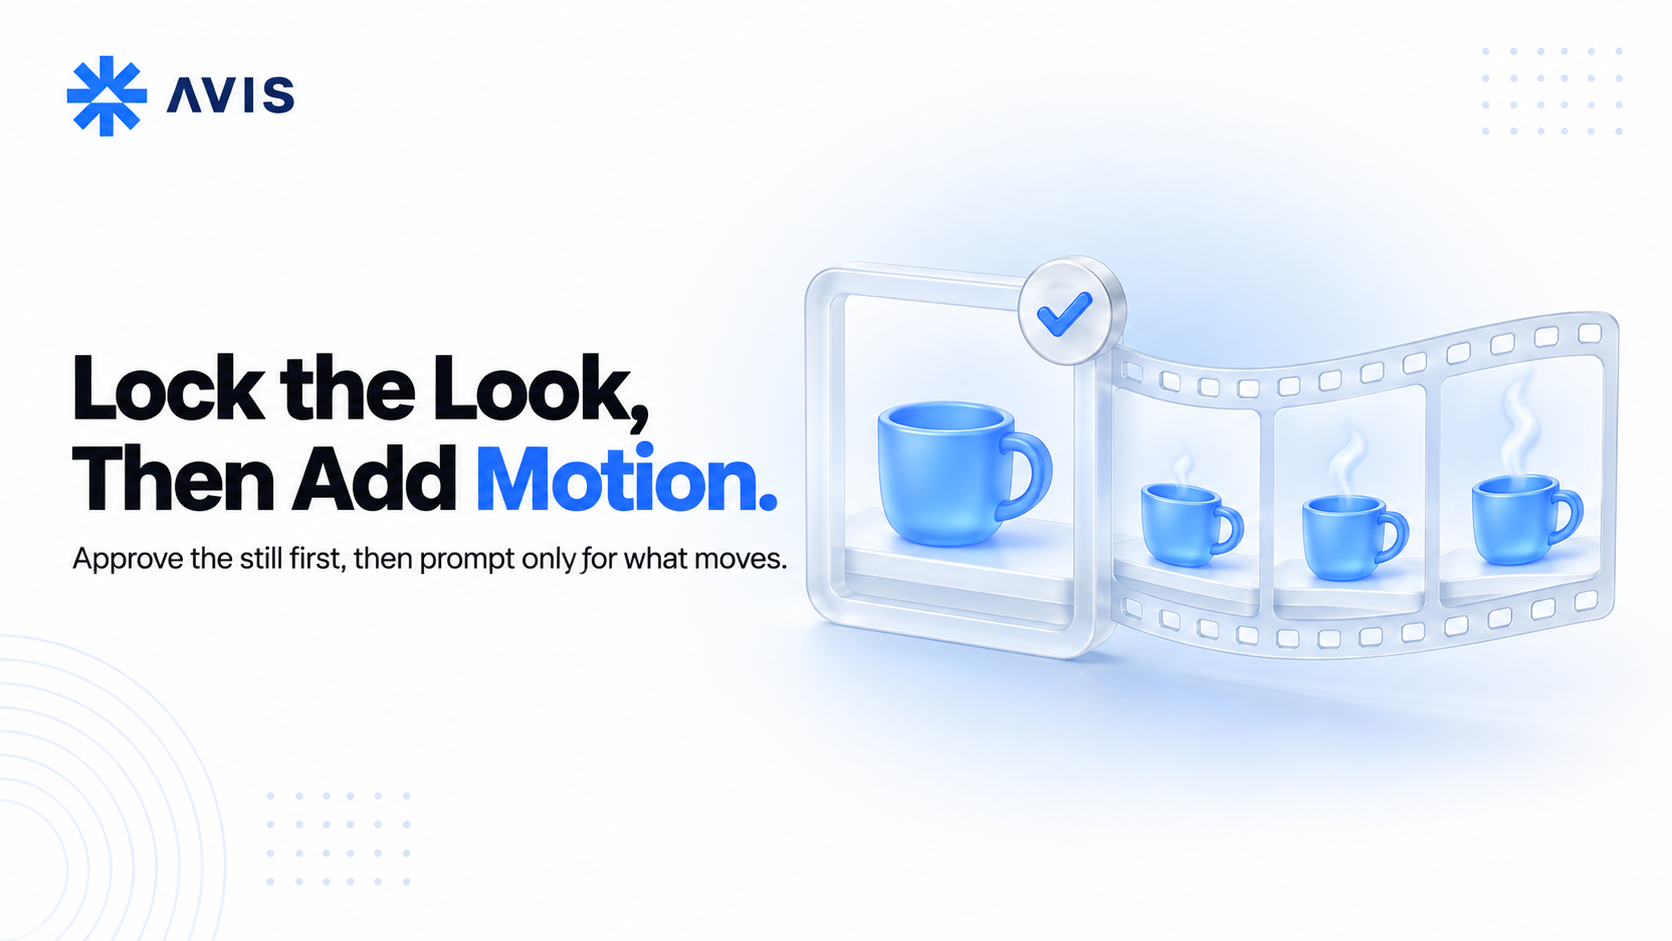
Image to Video Workflow: How to Chain an Image Model into a Video Model
Text-to-video can feel like a gamble. You describe a scene and hope the model gets the product, face, composition, and lighting close to what you had in mind. An image-to-video workflow gives you much more control: you first generate a still with an image model, approve it, and then give that exact image to a video model with a much simpler instruction: make it move.
Connecting the two APIs is straightforward. The tricky part is usually the handoff: making sure the image has the right dimensions, the URL is still valid, and the video prompt doesn't accidentally change the image you've already approved. Here's how to build the workflow so each step works cleanly with the next.
Why start with an image?
The biggest advantage of image-to-video is that you can lock down the look before spending money on motion. Once the video model receives a first frame, the subject, composition, colours, and lighting are already there. Your prompt only needs to explain what should move.
That changes where you spend your time and budget. Image generation is usually faster and cheaper to iterate on than video, so you can generate a dozen stills, pick the one that works, and animate only that version. With text-to-video, every attempt to get the look right also costs you a video render.
It also means you can use different models for different jobs. An image model might be better at product detail or character design, while a video model might be better at natural movement. Through the AVIS Gateway, both can sit behind a single API key, so you can mix model families without building separate integrations. If you're comparing video models, see our roundup of the best image-to-video APIs.
Text-to-video still has its place. If you're making a mood clip, an abstract background, or an early concept where the exact look isn't important, it's often perfectly fine. But when a brand colour, product shape, or recurring character needs to stay consistent, starting with an image is usually the safer option.
Make the still ready for video
A still can look great on its own and still make a bad first frame. Before sending it to a video model, there are a few things worth checking.
Match the video frame
Generate the image at the same aspect ratio as the video you want to create. If you generate a square image and send it to a 16:9 video model, something has to happen to that image. It may be cropped or padded, and the model decides how. That's how you end up with a product sitting halfway outside the frame.
There's another detail that's easy to miss: the size you request from an image API isn't always the size you actually get. Providers may map requested dimensions to their own supported size tiers, so check the dimensions of the returned image before passing it to the video model. The same applies to video settings. Different models support different aspect ratios, resolutions, and durations. One might accept anything from 2 to 15 seconds, while another might only support 6 or 10 seconds.
The model list endpoint tells you what each model supports. It's better to validate against that than to hardcode the settings for one model.
Avoid things that are hard to animate
Some images are simply easier for a video model to work with than others. Watch out for:
- Important subjects near the edge of the frame. A camera movement can push them out of view.
- Readable text and logos. Text often warps once the image starts moving. It's usually better to add titles and logos during editing.
- Heavy occlusion or unclear depth. If the model can't tell what's behind an object, it has to guess when that object moves.
- Very flat lighting. Without clear shadows and depth cues, movement can look less convincing.
Pick the image before you animate it
Do your quality check at the image stage, when retries are cheap. Generate several candidate stills, then choose the one you actually want to animate. It's also worth specifying the number of images you want in the prompt, since some models may return fewer images than requested. You can make the selection manually, or run an automated quality check if you're building this into a larger pipeline.
Cost is another reason to do things in this order. On AVIS, the estimate endpoints let you preview the cost of an image or video request before submitting it. Think of these as estimates rather than guaranteed final prices: video costs can change based on the actual duration produced. The basic rule is simple: spend the less predictable video budget only after you've approved the frame.
Don't lose the image during the handoff
Once you've chosen the still, you need to get it into the video model. Depending on the model, that usually means passing a public URL or inline base64 data. In practice, this handoff is one of the easiest places for a production pipeline to break.
Keep your own copy
Don't assume a generated image URL will work forever. Image APIs commonly return temporary URLs. On AVIS, files generated through the API are stored for 72 hours, according to the August 2026 changelog. That's fine for a pipeline that runs immediately, but it's less useful when you want to revisit a render next week or when a client asks you to try a different camera movement.
Once you've approved an image, copy it to your own storage and use your own URL for the video step. Base64 is another option, but it makes every request larger and means you have to resend the image every time. The video generation endpoint doesn't accept file uploads, so whatever you pass in the request needs to be complete.
Make the image's role explicit
An image can play different roles in a video request, and you don't always want the model to treat it as an exact first frame. On AVIS, you can specify a role:
| Role | What it does | When to use it |
|---|---|---|
firstFrame |
Starts the video from this exact frame | You've approved a still and want the video to begin there |
lastFrame |
Ends the video on this frame | The final pose, angle, or product position matters |
referenceImage |
Uses the image as visual guidance rather than an exact frame | You want the look without locking the composition |
If you leave the role out, referenceImage is the default.
For an approved still that you simply want to animate, the request can be as simple as:
{
  "model": "your-video-model",
  "content": [
    { "type": "text", "text": "Steam rises slowly from the cup and drifts left. Everything else stays still. Camera static." },
    { "type": "imageUrl", "url": "https://your-storage.example.com/approved/cup-16x9.png", "role": "firstFrame" }
  ],
  "duration": 5,
  "ratio": "16:9",
  "seed": 42
}
Treat the workflow as a pipeline
Both image and video generation are asynchronous. You submit a job, get an ID, and then poll until the job reaches a final state. It's easier to think of the workflow as a small state machine:
- The image job finishes → save the approved still to your storage → record its URL.
- Create the video task using that URL → poll until it succeeds, fails, or is cancelled.
- If the video fails → retry the video step using the same saved image.
Keep a record of the image model, prompt, seed, stored image URL, video model, video prompt, and settings for every run. Seeds can help you get similar results, but they don't guarantee identical output. The rest of that record is what makes a successful run reproducible and a failed run diagnosable.
Write the video prompt for movement
The most useful mental model is simple: your image prompt describes what exists; your video prompt describes what changes.
A common mistake is to describe the entire image again in the video prompt. That can actually make things worse. When the text and the image disagree, the model may follow the text and start changing things you already approved. The still already establishes the subject, composition, colour palette, and lighting, so there's usually no reason to repeat those things.
Instead, focus the video prompt on:
- One primary movement. Too many competing movements make the result harder to control.
- Speed. Words like "slowly", "quickly", or "gently" help establish the pace.
- A realistic camera movement. Push in, pull back, rise, lower, or simply stay static. An orbit can be risky because it asks the model to invent parts of the subject that weren't visible in the original image.
- What should remain still. This is especially useful when you want a subtle animation.
For example, compare:
"A red ceramic cup on a wooden table in warm morning light, steam rising."
with:
"Steam rises slowly and drifts left. Everything else stays still. Camera static."
The first prompt asks the model to recreate the scene. The second tells it exactly what needs to change.
Use a last frame when the ending matters
Sometimes you care about where the shot ends. Maybe the product needs to rotate toward the camera, or a character needs to finish in a specific pose. In those cases, provide both a first frame and a last frame.
The model then has two known states to work between instead of having to invent the ending itself. Generate both frames at the same aspect ratio, ideally within the same image-generation session. The more similar the starting and ending images are in style and setup, the less work the video model has to do when connecting them.
For longer videos, think in shots
Most video models produce relatively short clips, often somewhere between 5 and 15 seconds. A tempting workaround is to take the last frame of one clip, use it as the first frame of the next, and repeat. It works, but quality tends to degrade with every link.
Each new clip starts from generated footage rather than your original clean still. Over several iterations, textures soften, hands and props can change shape, and colours start to drift.
A more reliable approach is to plan the video as a sequence of independent shots. Generate each shot from an approved reference still, then join the clips in an editor. Straight cuts work particularly well when they happen during movement.
As a rule of thumb, four to seven seconds is a comfortable target for an individual shot. A single last-frame continuation can be useful when you need it, but building a long chain of continuations usually isn't worth the quality loss. If you're trying to keep the same person recognisable across multiple shots, our guide on keeping characters consistent across an AI series goes into more detail.
FAQ
Is image-to-video better than text-to-video?
It's more controllable. By generating the image first, you can approve the subject, composition, colour, and lighting before paying for motion. The video model then only has to animate that approved frame. Text-to-video is still useful when the exact visual isn't important, such as mood clips, abstract backgrounds, or early concept tests.
Does the input image need the same aspect ratio as the output video?
Ideally, yes. If the ratios don't match, the video model has to crop or pad the image, and you don't necessarily control how it does that. Generate the still at your target ratio and check the actual dimensions of the returned image, since image APIs may map requested sizes to their own supported tiers.
What should I write in an image-to-video prompt?
Describe movement rather than the image itself. Start with one primary motion, add a speed or pacing instruction, describe a camera movement if needed, and say what should remain still. Repeating the subject, colours, lighting, and composition can encourage the model to reinterpret the image instead of simply animating it.
How long do generated image URLs last?
It depends on the provider. Many generated URLs are temporary. On AVIS, API-generated files are stored for 72 hours, according to the August 2026 changelog. If you plan to reuse an image later, copy it to your own storage and use your own URL for the video step.
How do I make an AI video longer than the model's limit?
Think in shots rather than one continuous generation. Generate several short clips independently from approved reference images and join them during editing. Repeatedly passing the previous clip's last frame into the next clip tends to compound visual drift. A single continuation can work well; a long chain usually doesn't.
How do I keep costs down when chaining image and video models?
Iterate on the image, not the video. Generate several stills, pick the strongest one, and only then start the video generation. Use an estimate call to preview the cost of both stages before submitting them, keeping in mind that video estimates can differ from the final charge. If a video render fails, retry the video step with the same saved image instead of regenerating the image.
Wrapping up
A good image-to-video workflow isn't really about connecting two APIs. It's about making sure the handoff between them doesn't undo the work you've already done.
Generate the still at the target ratio, approve it while image retries are cheap, save your own copy, and tell the video model exactly what role the image plays. Then write a prompt that describes movement rather than recreating the scene.
For anything longer than a single clip, think in shots and edit them together instead of endlessly extending one generation. If you want both stages behind a single API key, AVIS gives you access to image and video models through the same API, with cost estimates available before you commit.
Last updated: September 2026